Since returning to ham radio, I’ve now attended two different “hamfests” — basically ham-radio-centric flea market style events, for those unfamiliar. Both have been a bit of a bust for me, but the most recent event at least yielded something unexpected: the ability to pick-up a cool little CW iambic paddle kit straight from the source, local ham Jonathan Kayne, KM4CFT.
Before I get to the kit and a brief review, some background…
Hamfests
I have fond memories of hamfests. Well, let me amend that; I have one fond memory of a very specific hamfest. My dad, KØBG, took me with him to a BARCfest when I was a kid. I don’t remember how old I was or what year it was, but I do remember the hamfest. It was held at the Boulder Armory, 4750 N. Broadway — the Colorado National Guard base — and it was massive. Row after row of tables with various bits and bobs of interest to hams. Tons of people were there, and my dad seemed to know most all of them. It made sense; either then, or before, or after (I can’t remember), he worked at CW Electronics, hawking ham radio gear. Plus, unlike me, he was (and is) outgoing, and can initiate small talk with virtually anyone.
It was that memory, I suppose, that led me to go to the Pikes Peak Radio Amateur Association’s Megafest several weeks ago, and then return to BARCfest this month (October 2024 as I write this). Both events were… fine. And while I know a lot of folks love vintage gear, at least for me and my personal interests, most of what I saw didn’t seem to justify hauling the stuff to the hamfest site — let alone actually paying to rent a table to display the goods. But one person’s trash is another person’s treasure, and at both of the events, plenty of hams were walking out with purchases in-hand.
But that one thing…
One of the things I was keeping an eye out for was a small set of iambic paddles for portable use. I have a set for my base station, the typical open design epitomized primarily by the Bencher brand (although mine are a cheap knock-off). I have hopes of using CW (Morse code) with Parks on the Air (POTA) operations, so I’d need something that can travel. I didn’t find anything; at nothing that was ready to use.
What I did find, however, was Jonathan Kayne, selling the interesting stuff he’s designed. I don’t know Jonathan, and have never met him prior to our brief interaction, but I certainly am familiar with his CFT-1 QRP transceiver kits. His engineering skill and knowledge impress me, and quite honestly, the ham radio community needs more younger people like him around; I hope he keeps knocking-out this sort of stuff.
His engineering skills obviously are not limited to circuit design. His Iambic Paddle Kit required some pretty clever thinking and 3D design chops to bring to life. So, how are they?
Review
What drew me to the kit was honestly the price tag: $35. He had a few examples built to show-off, and the fact that they had a nice feel to them sort of sealed the deal.
I have to confess that I’m not generally a fan of 3D-printed products. To be sure, 3D printing has improved in quality over the years, but Jonathan’s paddle kit is perhaps not a shining example of that. The passes of the extruder of his 3D printer are quite clearly visible, along with the spot here or there when an edge was less-than-perfect. I don’t know what material he used for the print, but it feels like using ABS and then some level of vapor smoothing would result in a much better looking product — but would perhaps also increase the cost, while also making it more difficult to accurately design the spaces and cavities where metal fasteners later get inserted.
Of course, injection molding would be better still, but the ramp-up costs for that, and the volumes required, would no doubt be well out-of-reach for Jonathan or anyone else dabbling in these products. Moreover? To be perfectly honest, I was more interested in how well the result worked than whether I could see an extrusion pattern in the plastic. So, moving on…
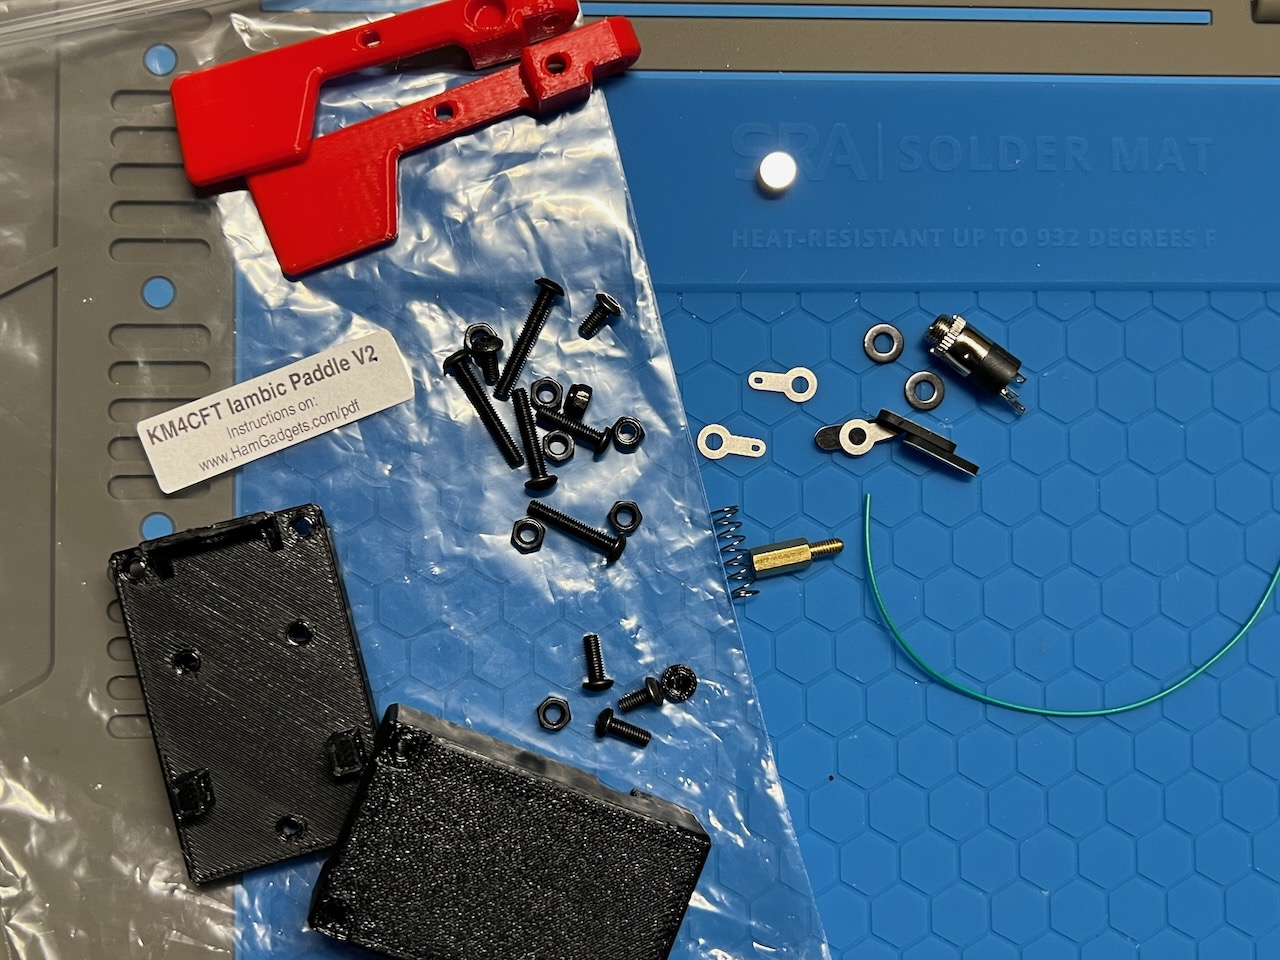
Jonathan’s instructions were clear and well structured. What can I say, apart from… Simply follow them! Everything one needs is in the kit, apart from an Allen key to tighter the metal fasteners, of which there are several — all metric (which is fine by me). (Not to mention a soldering iron and solder for the electrical connections.)
The pieces went together quickly, and precisely as he described. Here’s a photo of the mostly completed paddles:
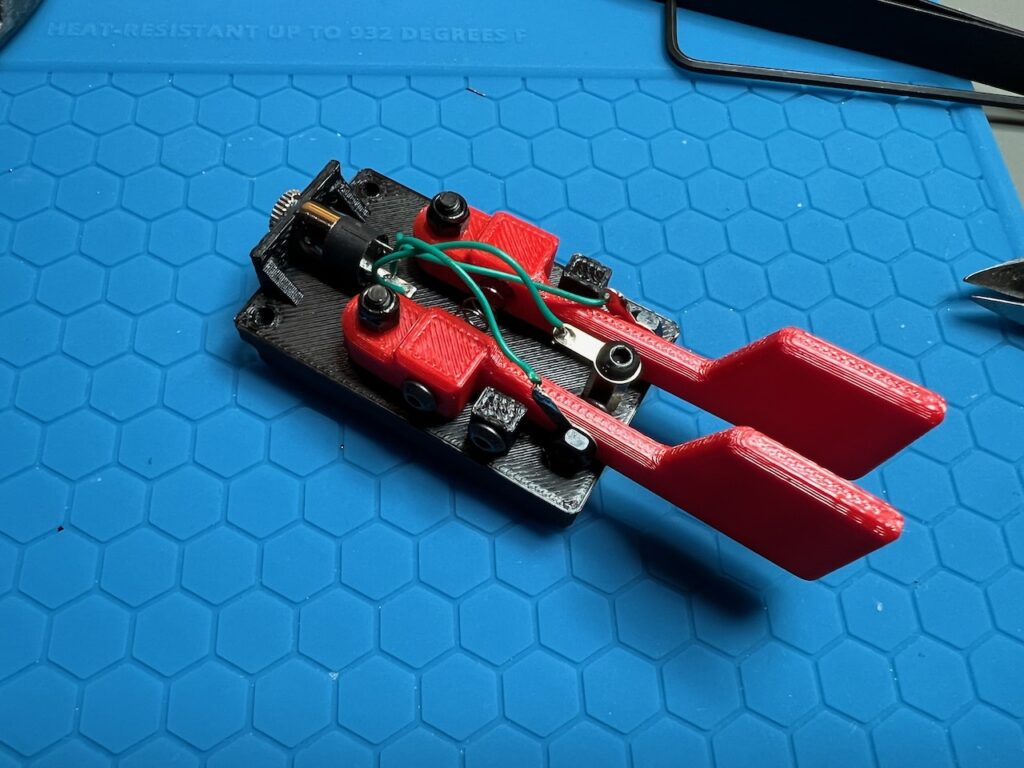
The only confusing part of the process is the screw and nut that are associated with the spring, which is a little difficult to follow. His directions suggest that one tightens that screw, but it’s the reverse, which presses a nut into the spring, thereby increasing the force of the spring. It was also a little tricky to get the tightness right on the fasteners that affix the paddles to the base; they use a nylock nut, and they need to be “just right” and roughly the same side-to-side.
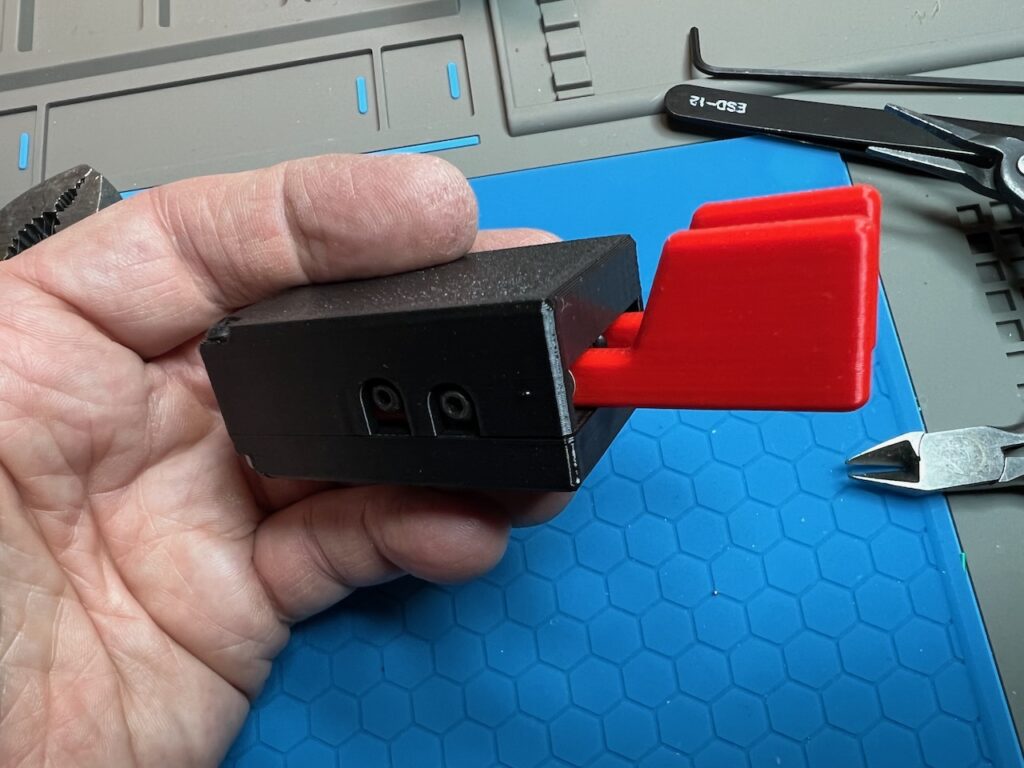
The only downside I can find is that even with the narrowest gap set (there’s no more adjustment space left for the screw) the paddles have more play (movement) than I am used to. My base station paddles have almost no physical travel at all, and that’s simply what I’m used to. But the movement required to operate this paddle set is still negligible, and I could argue that given its size and field use, I wouldn’t want it to be any more “touchy” than it ended-up.
Once I had them completed, it was a matter of hooking them up to my rig and giving them a go, and what can I say? They work great, I could send accurately, and even the dit/dash “sides” were correct. All I needed to add was a 1/8″ stereo male to 1/8″ stereo male cable — something I have several of in my cable boxes.
The finished result is now in my field operations go bag (well, it’s a go case in my instance), and should I decide to try my hand at some CW with my QRP Labs QMX+ transceiver, I’m good to go.
The only thing I arguably should have picked-up from Jonathan at BARCfest was the leg plate and strap for $15 more, so I’d have a place to put the paddles in the field. Jonathan smartly designed-in some magnets, four tiny discs included with the kit, and for which indentations were designed into the bottom plate component. Obviously a small sheet of thing steel on a tabletop would do the deed as well, or you can simply hold them down with one hand and operate them with the other, which I did at home for testing purposes.
His latest V2 version of these paddles improves the base a bit; he’s now included indentations in the print of the base to accommodate three small rubber feet, along with the feet themselves, which provides a non-slip improvement to the magnet-based set-up; now, the keyer won’t tend to slide around as it did under the previous design when magnetically adhered to a steel surface. A simple, smart solution to that issue.
In summary…
Pros:
- Good price point
- Easy build; soldering iron (and solder) and the skills to use them required
- Works nicely
- Standard dit/dah orientation “out of the box”
Cons:
- 3D print quality could be better
- Adjustment approach could be a bit more flexible
In the end, no regrets on my part.
Jonathan sells his products through hamgadgets.com. (Not an affiliate link; I do not receive compensation for linking, nor for providing this review.)